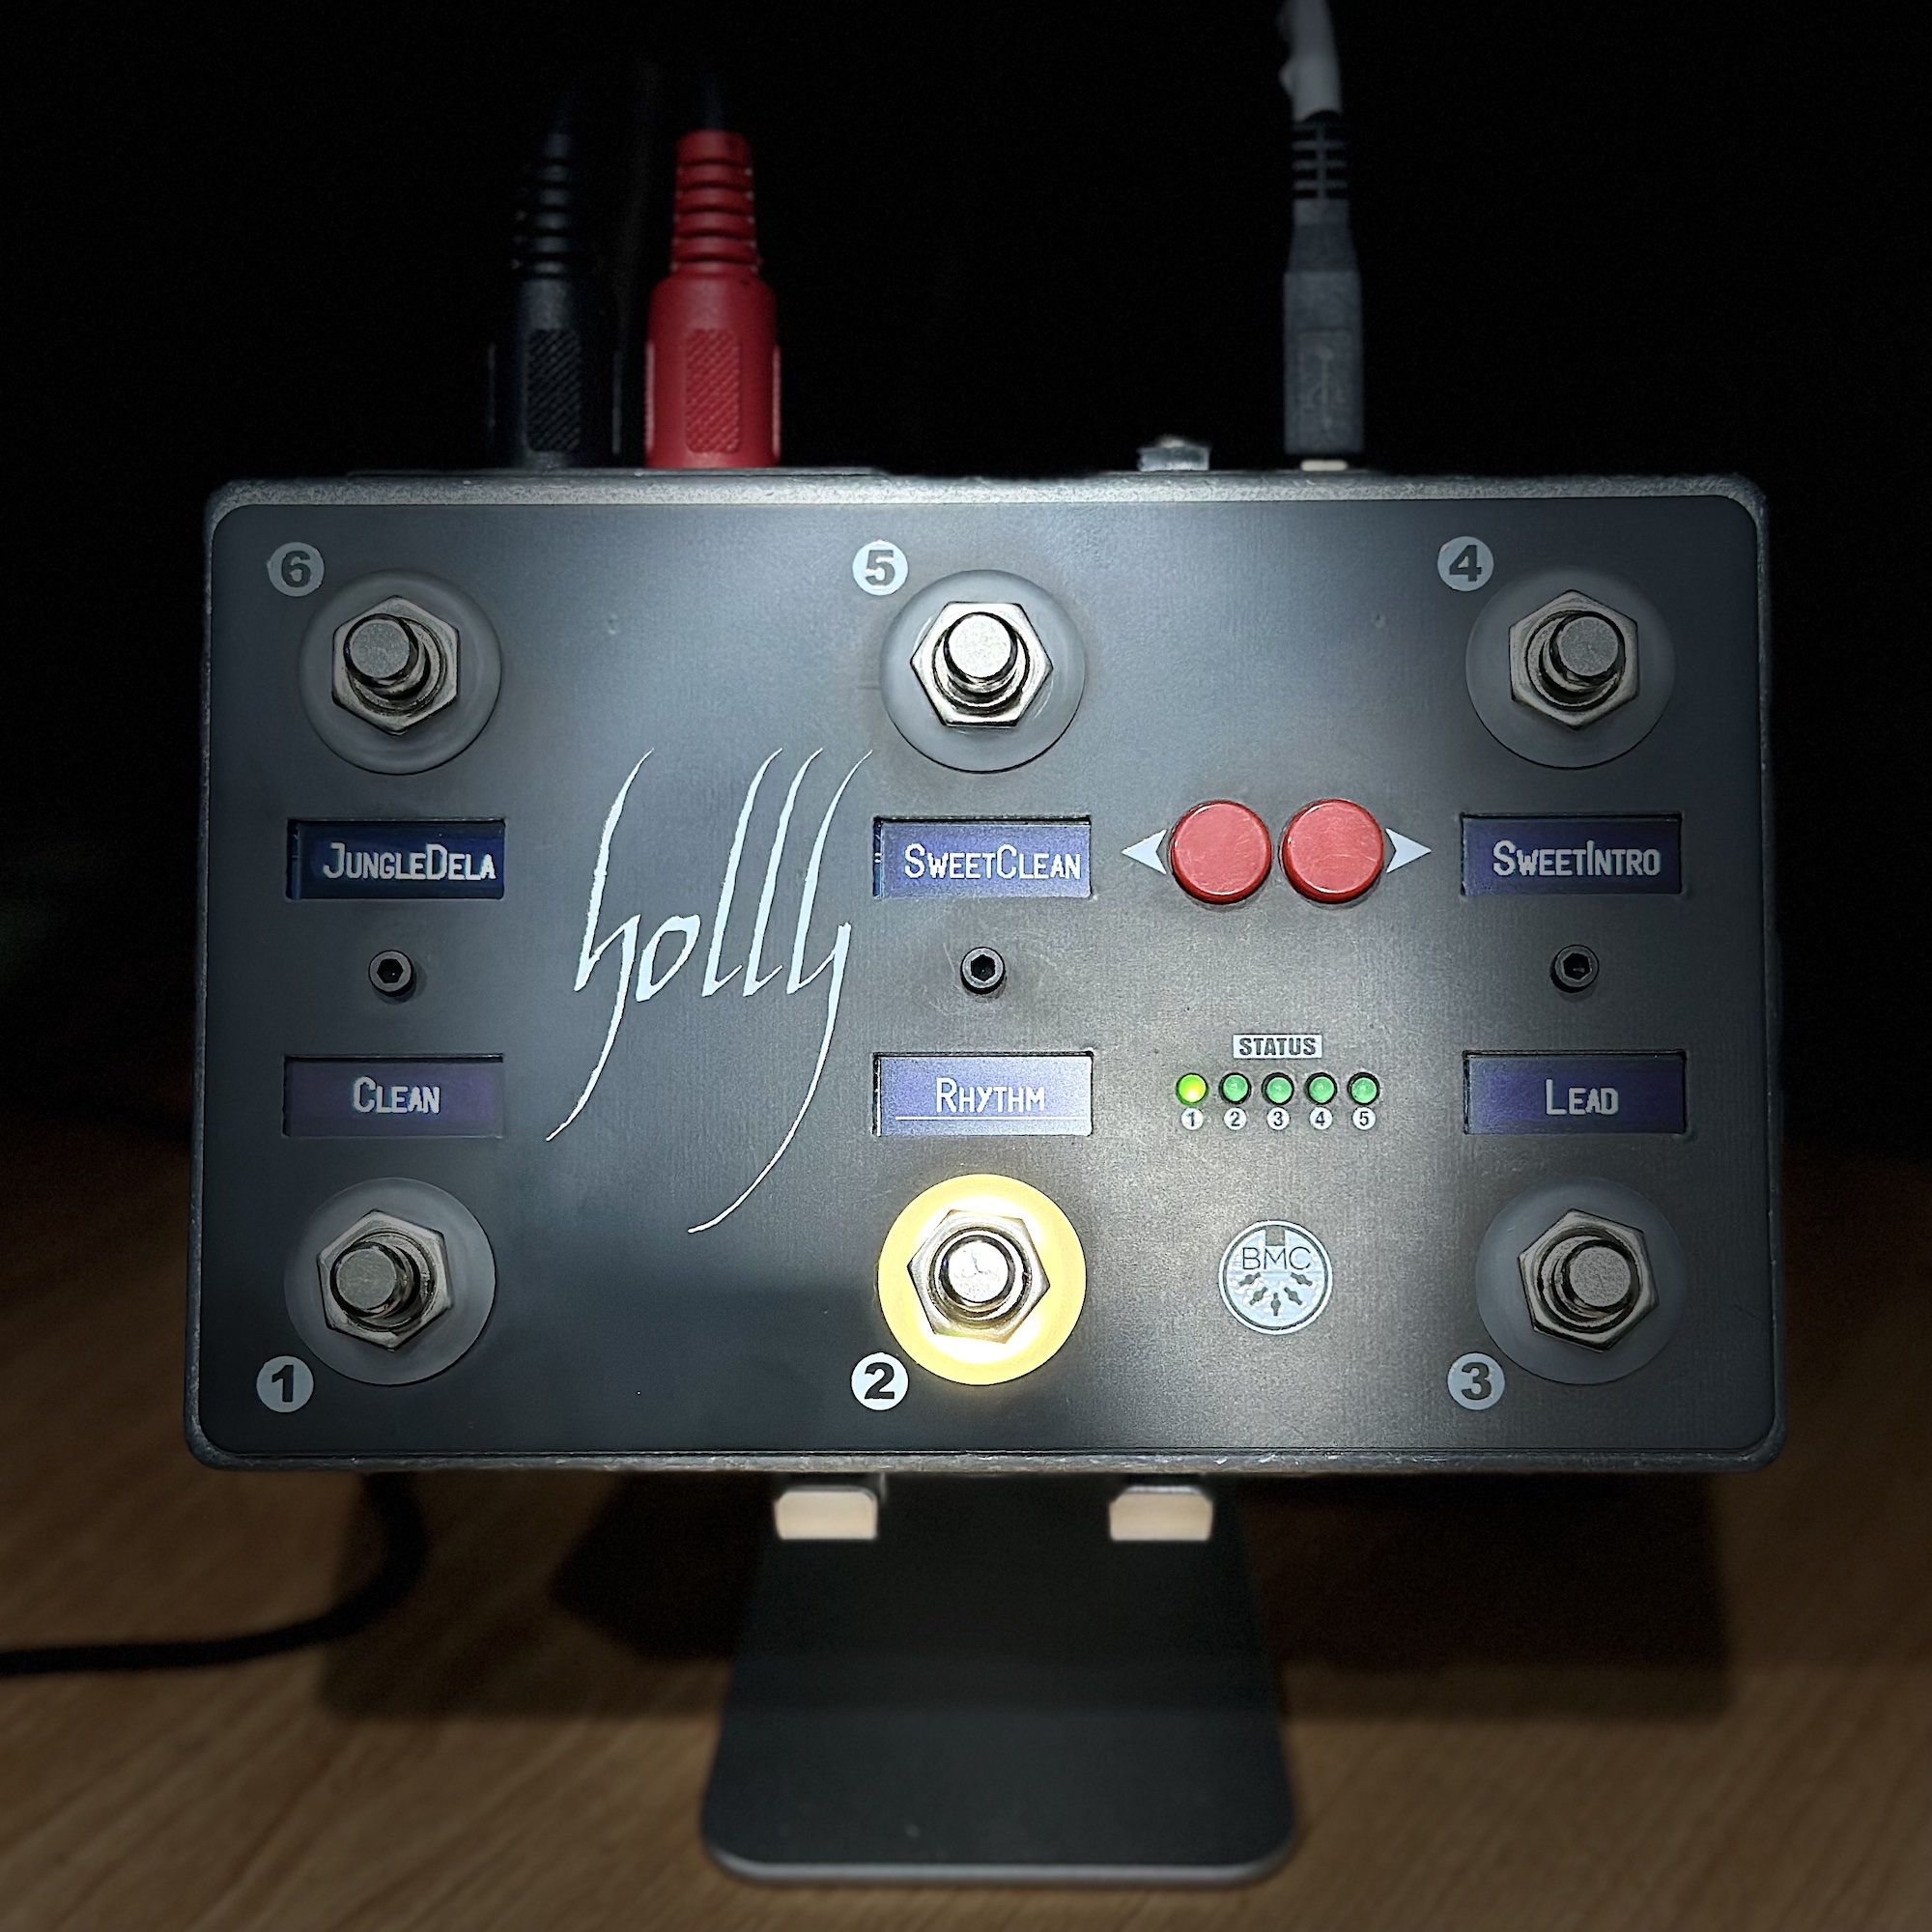
 Holly is a 6 Footswitch MIDI Foot Controller with Leds and Displays for each footswitch, it's design to be as compact as possible using a standard 1590DD type enclosure making it very portable for gigs! But that's not the best part, Holly runs on a Teensy 4.0 which means you can write your own firmware, that's right not just program the actions of each button but write the entire firmware on your own and make it 100% yours! Holly comes with BMC 2 installed which means you can use it with the BMC Editor app and use any custom build on BMC.
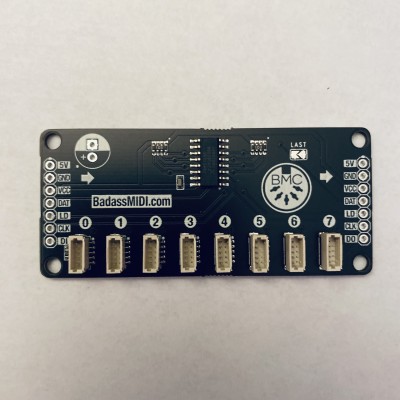
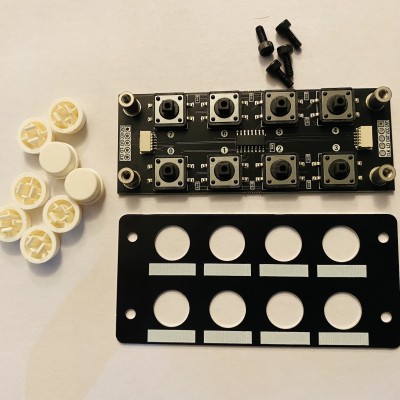
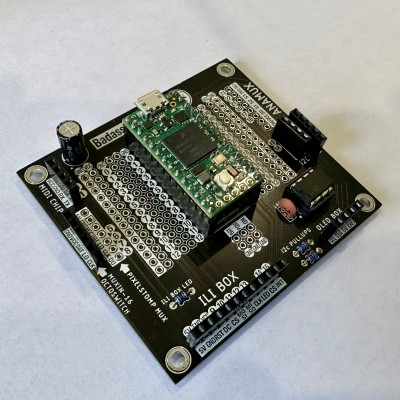
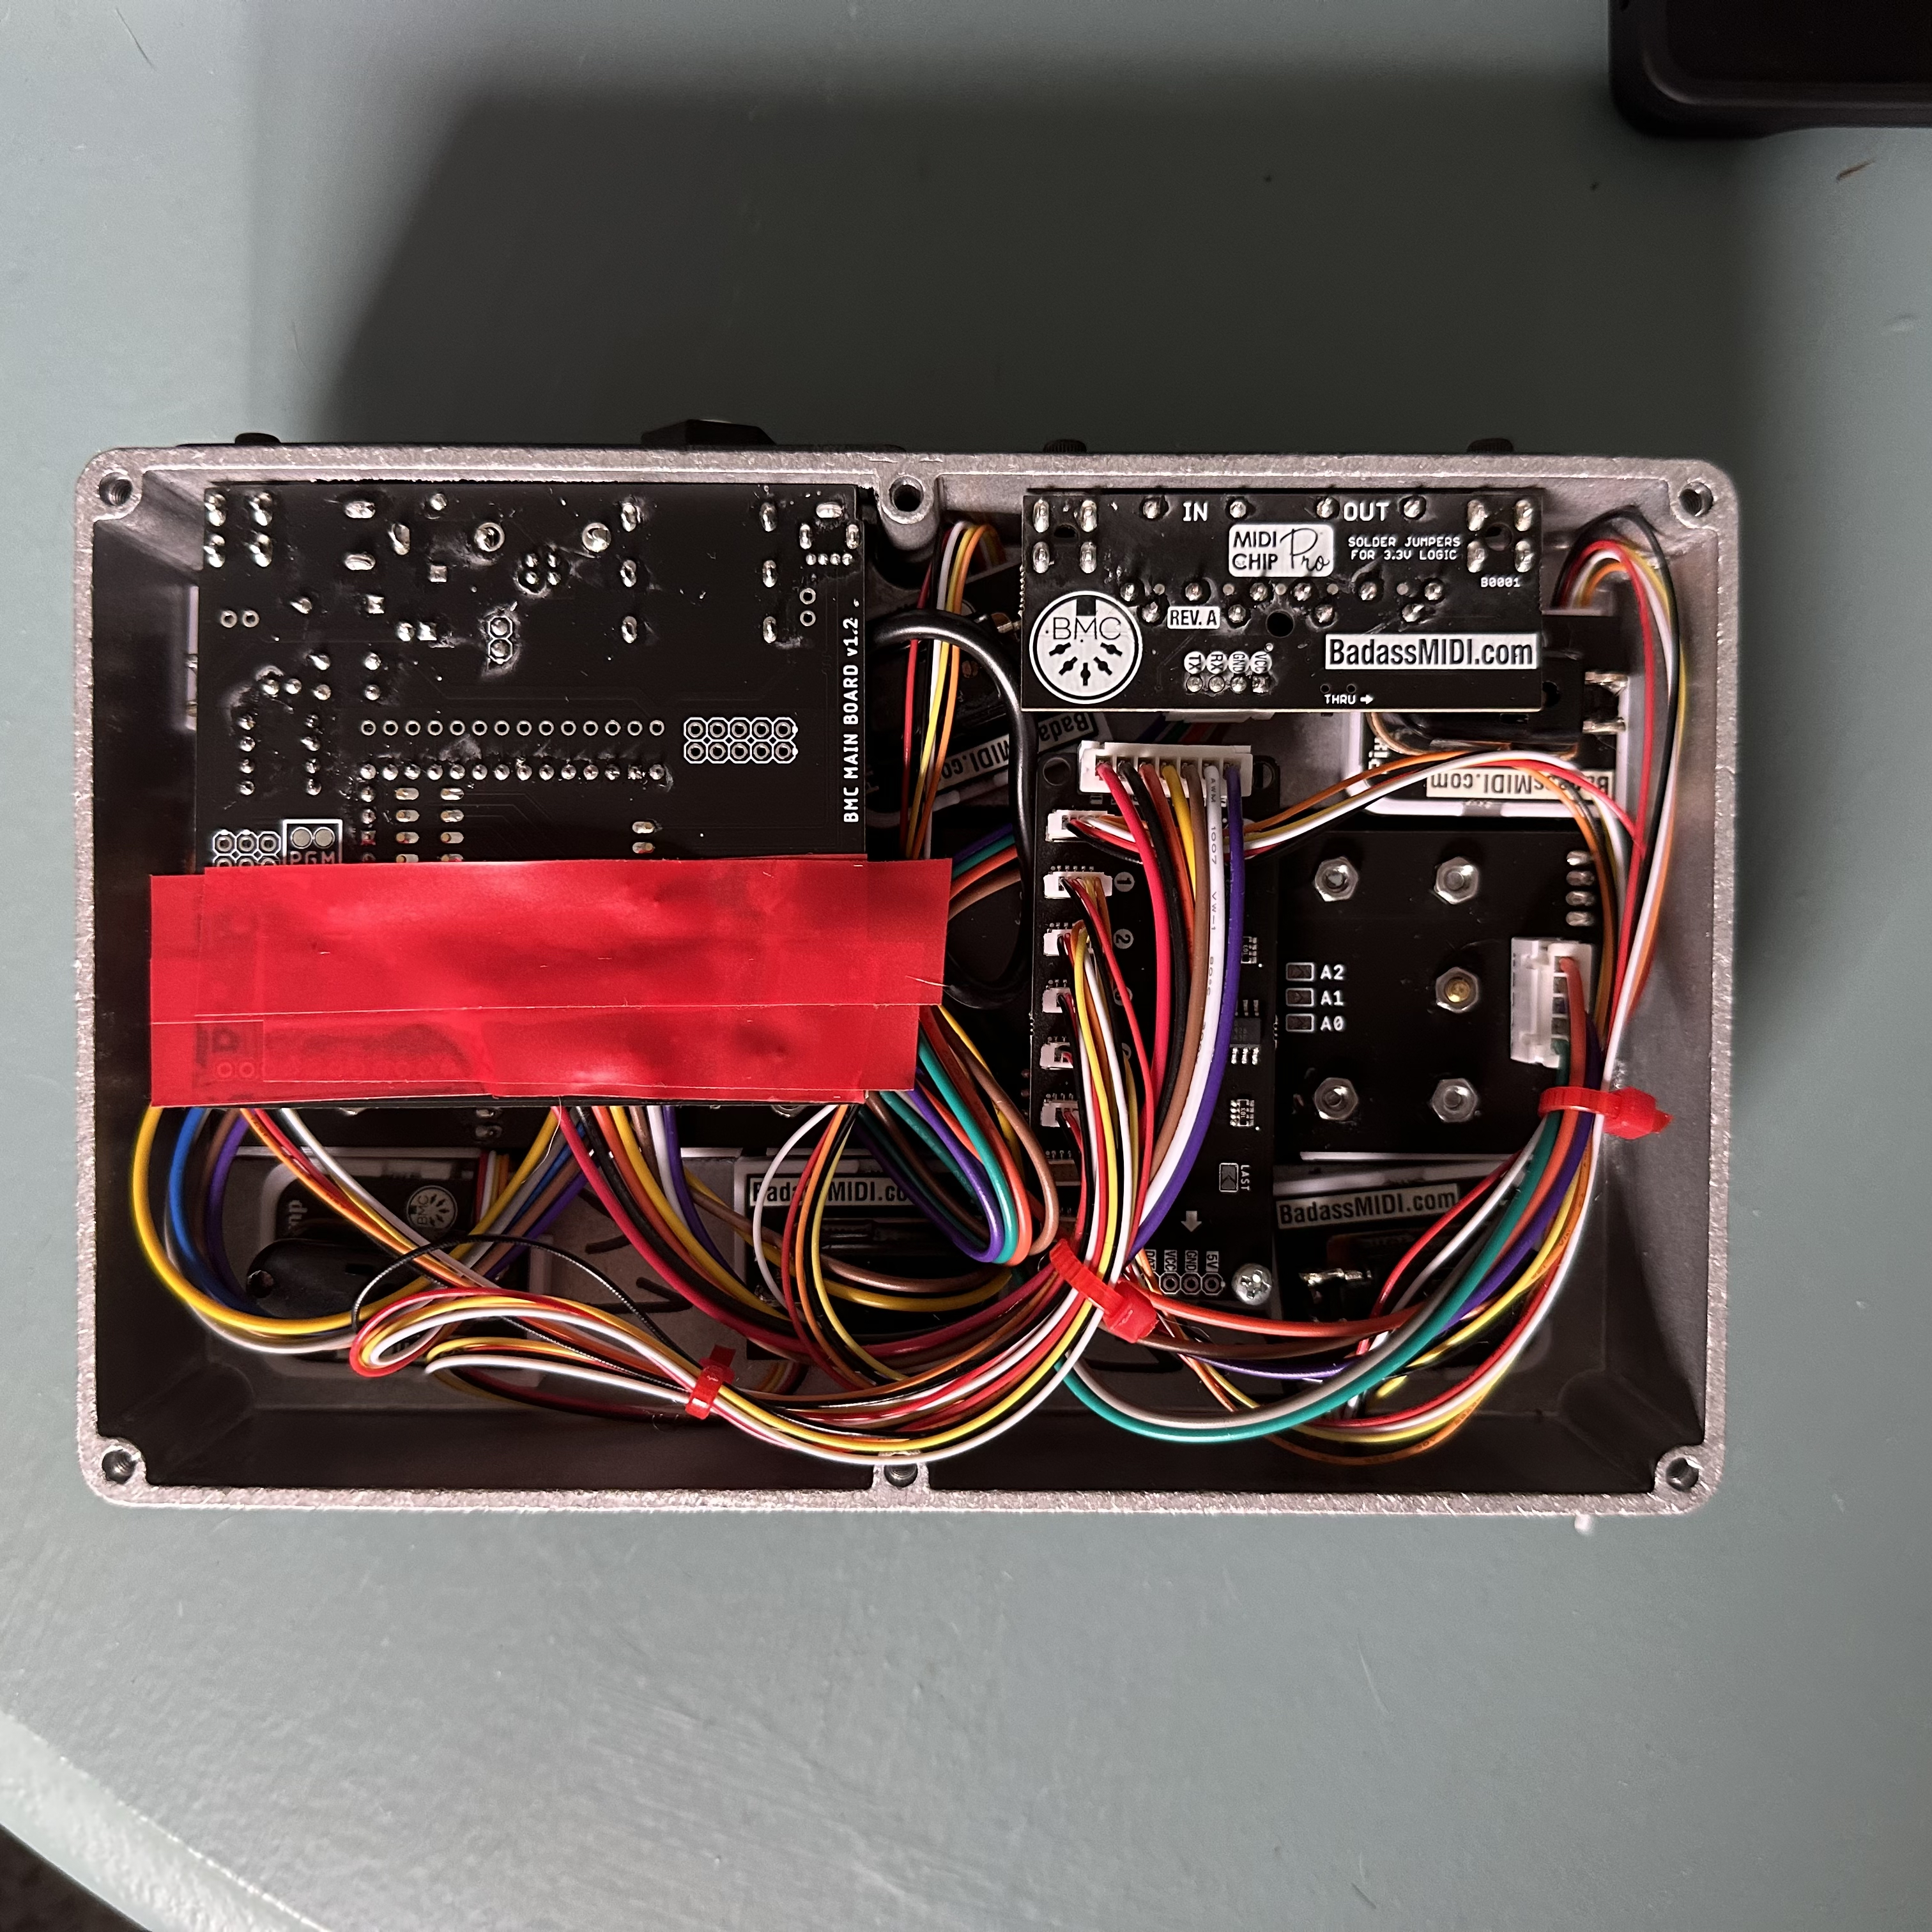
Holly was designed to use mostly off the shelf parts that you can get all over the internet with the exception being the custom main board, the board for the displays and cover plates. These boards are there just to make the wiring easier, they have no SMD parts on them.
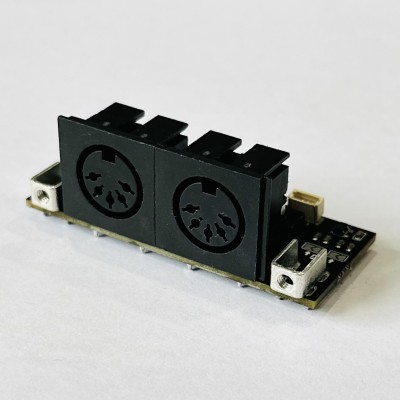
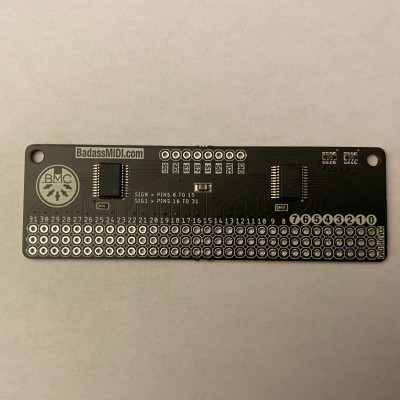
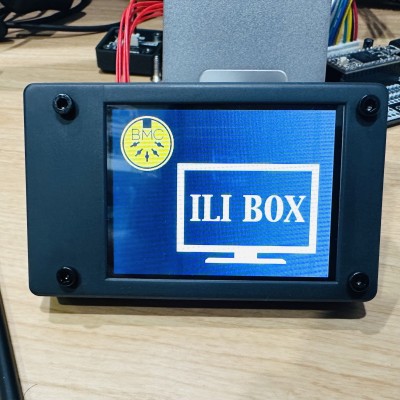
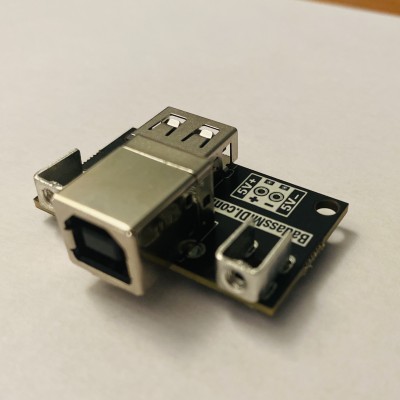
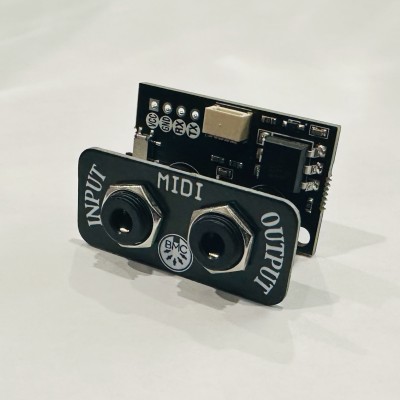
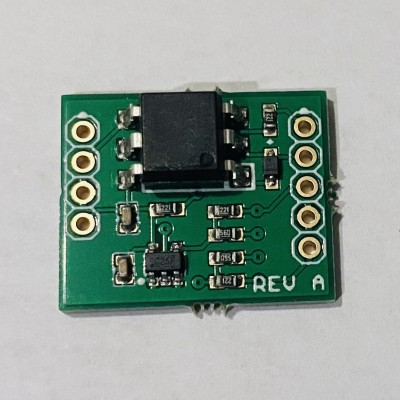
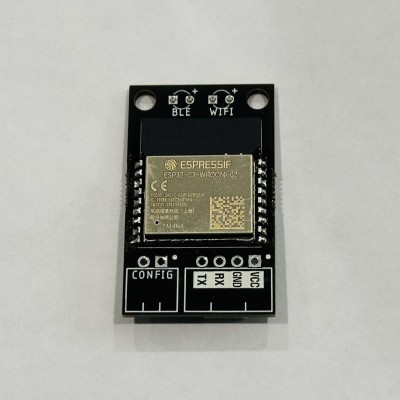
Holly also makes use of BadassMIDI Products including:
If you need to access the PGM button the Teensy in Holly you need to remove the backplate and on the motherboard you'll see 2 circular pads labeled "PGM" use a jumper wire to short those 2 pads put the teensy in programming mode.
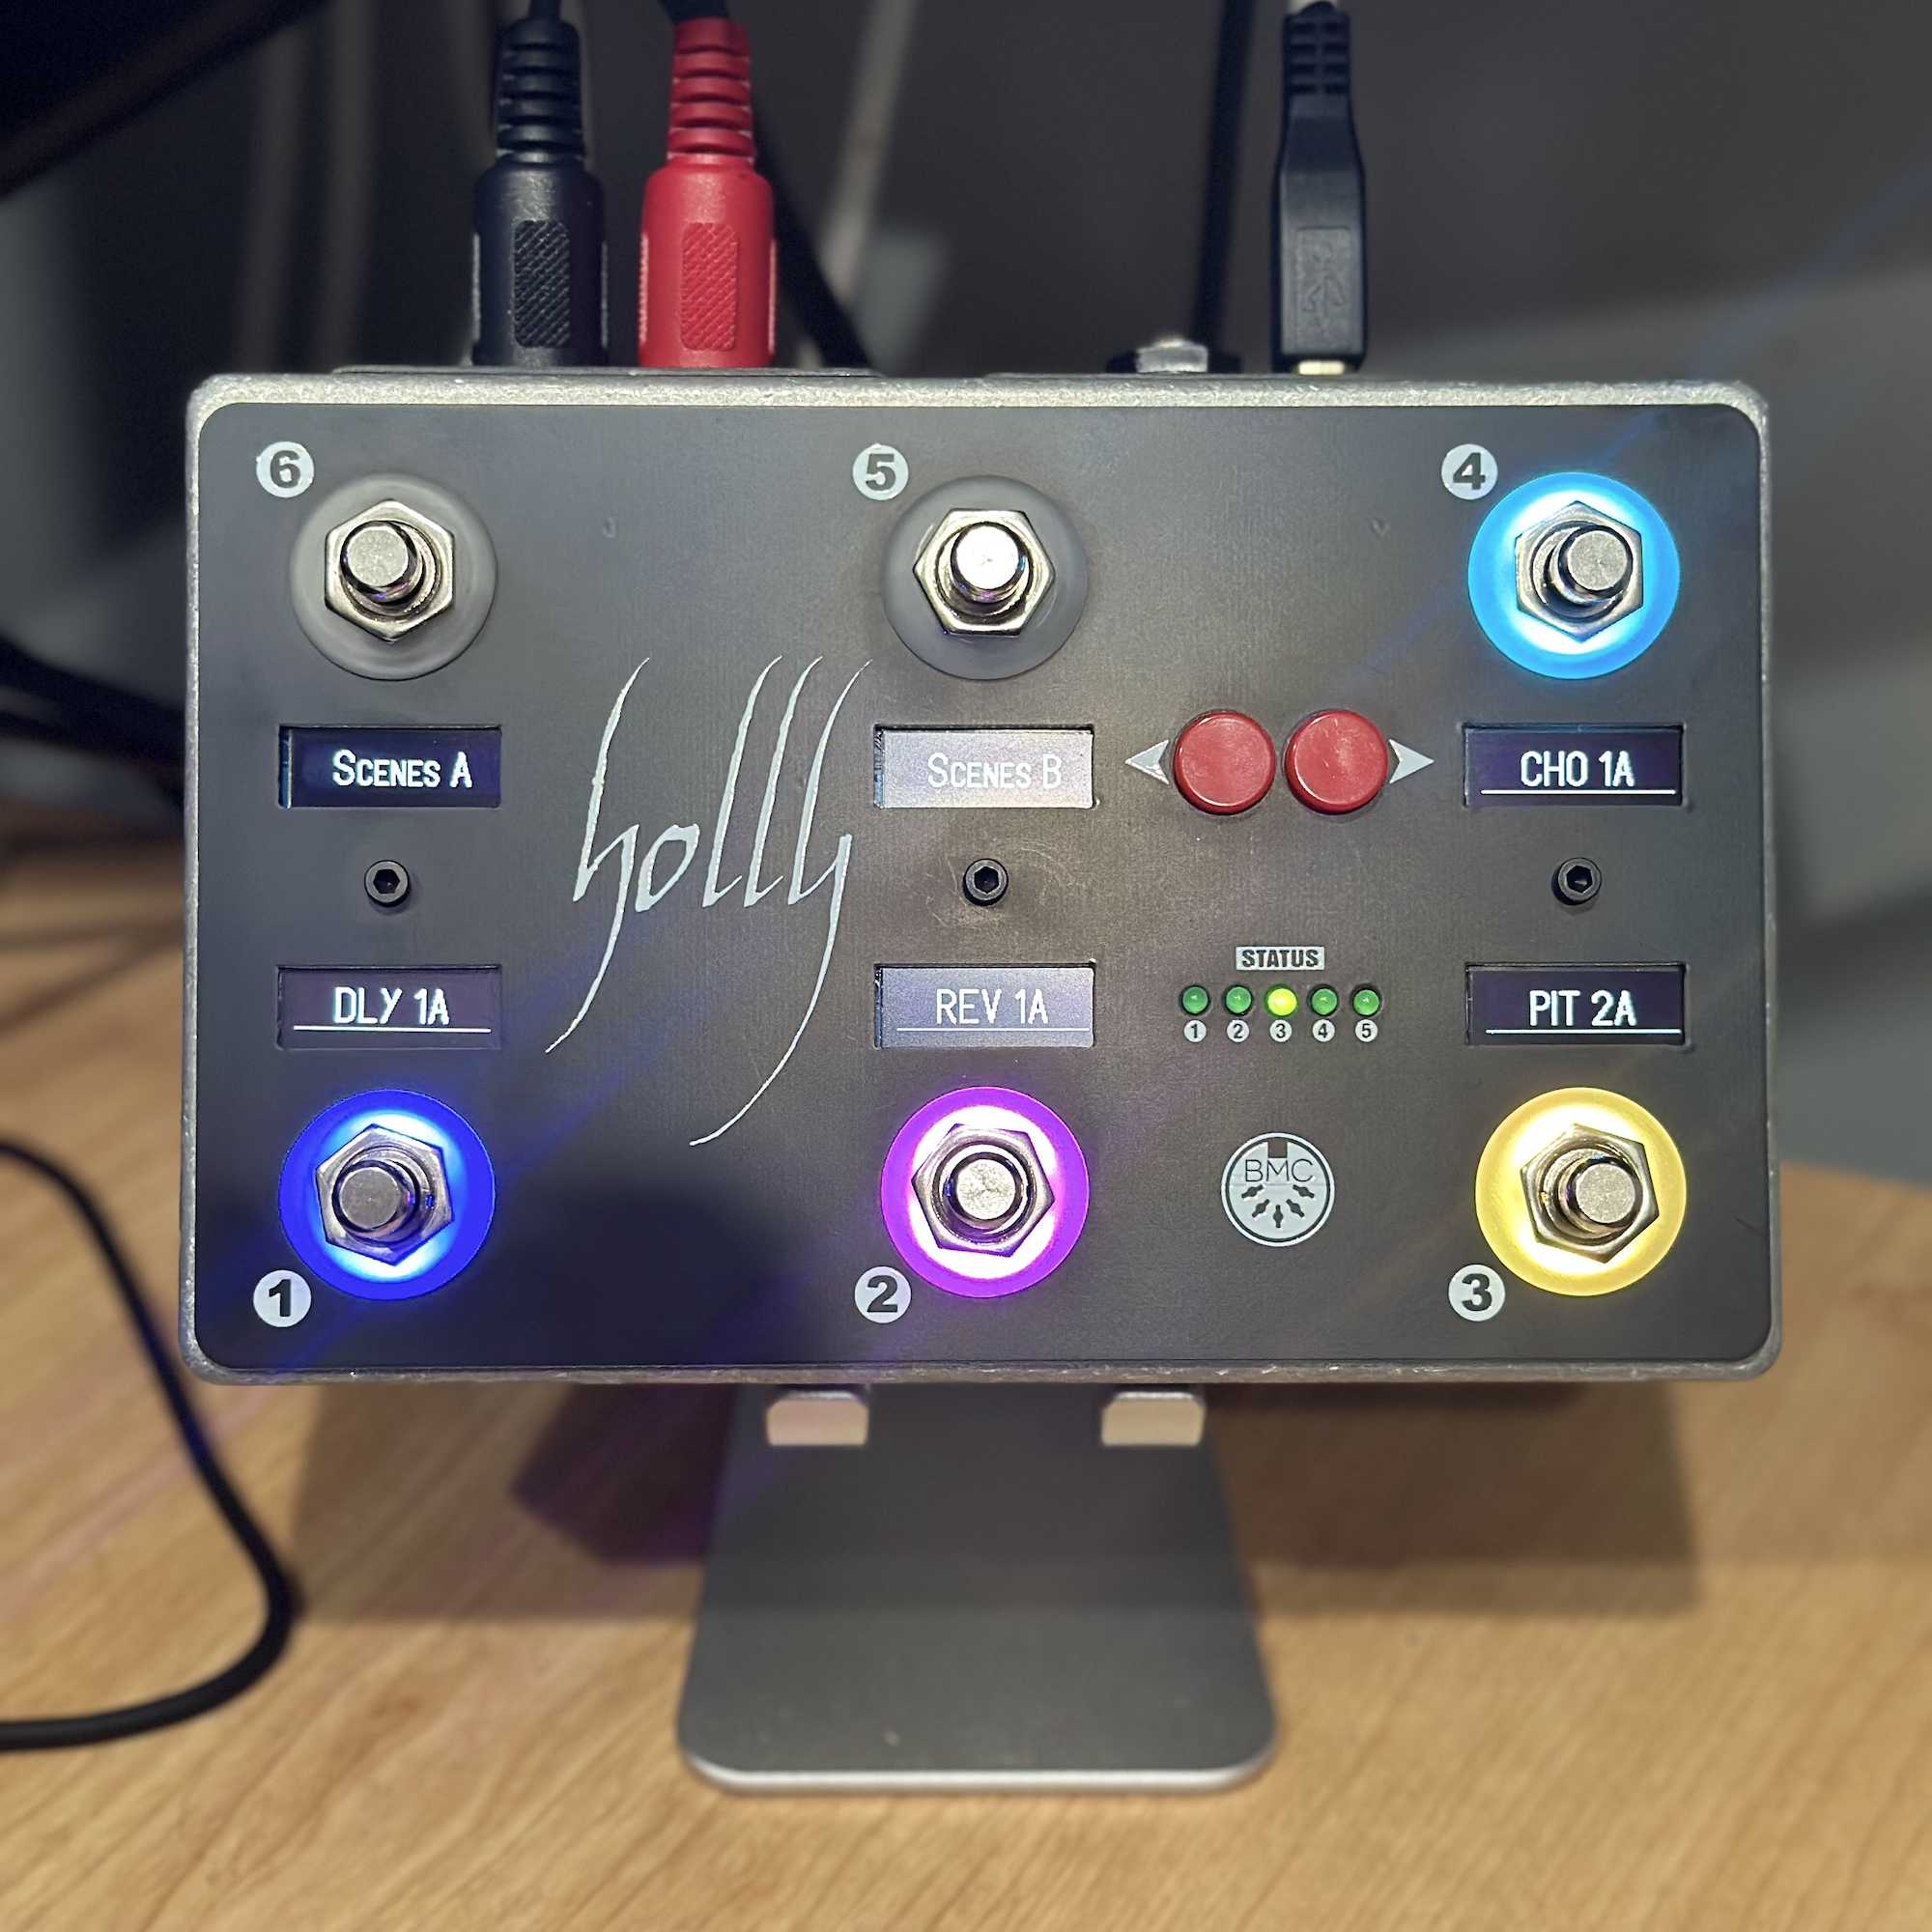
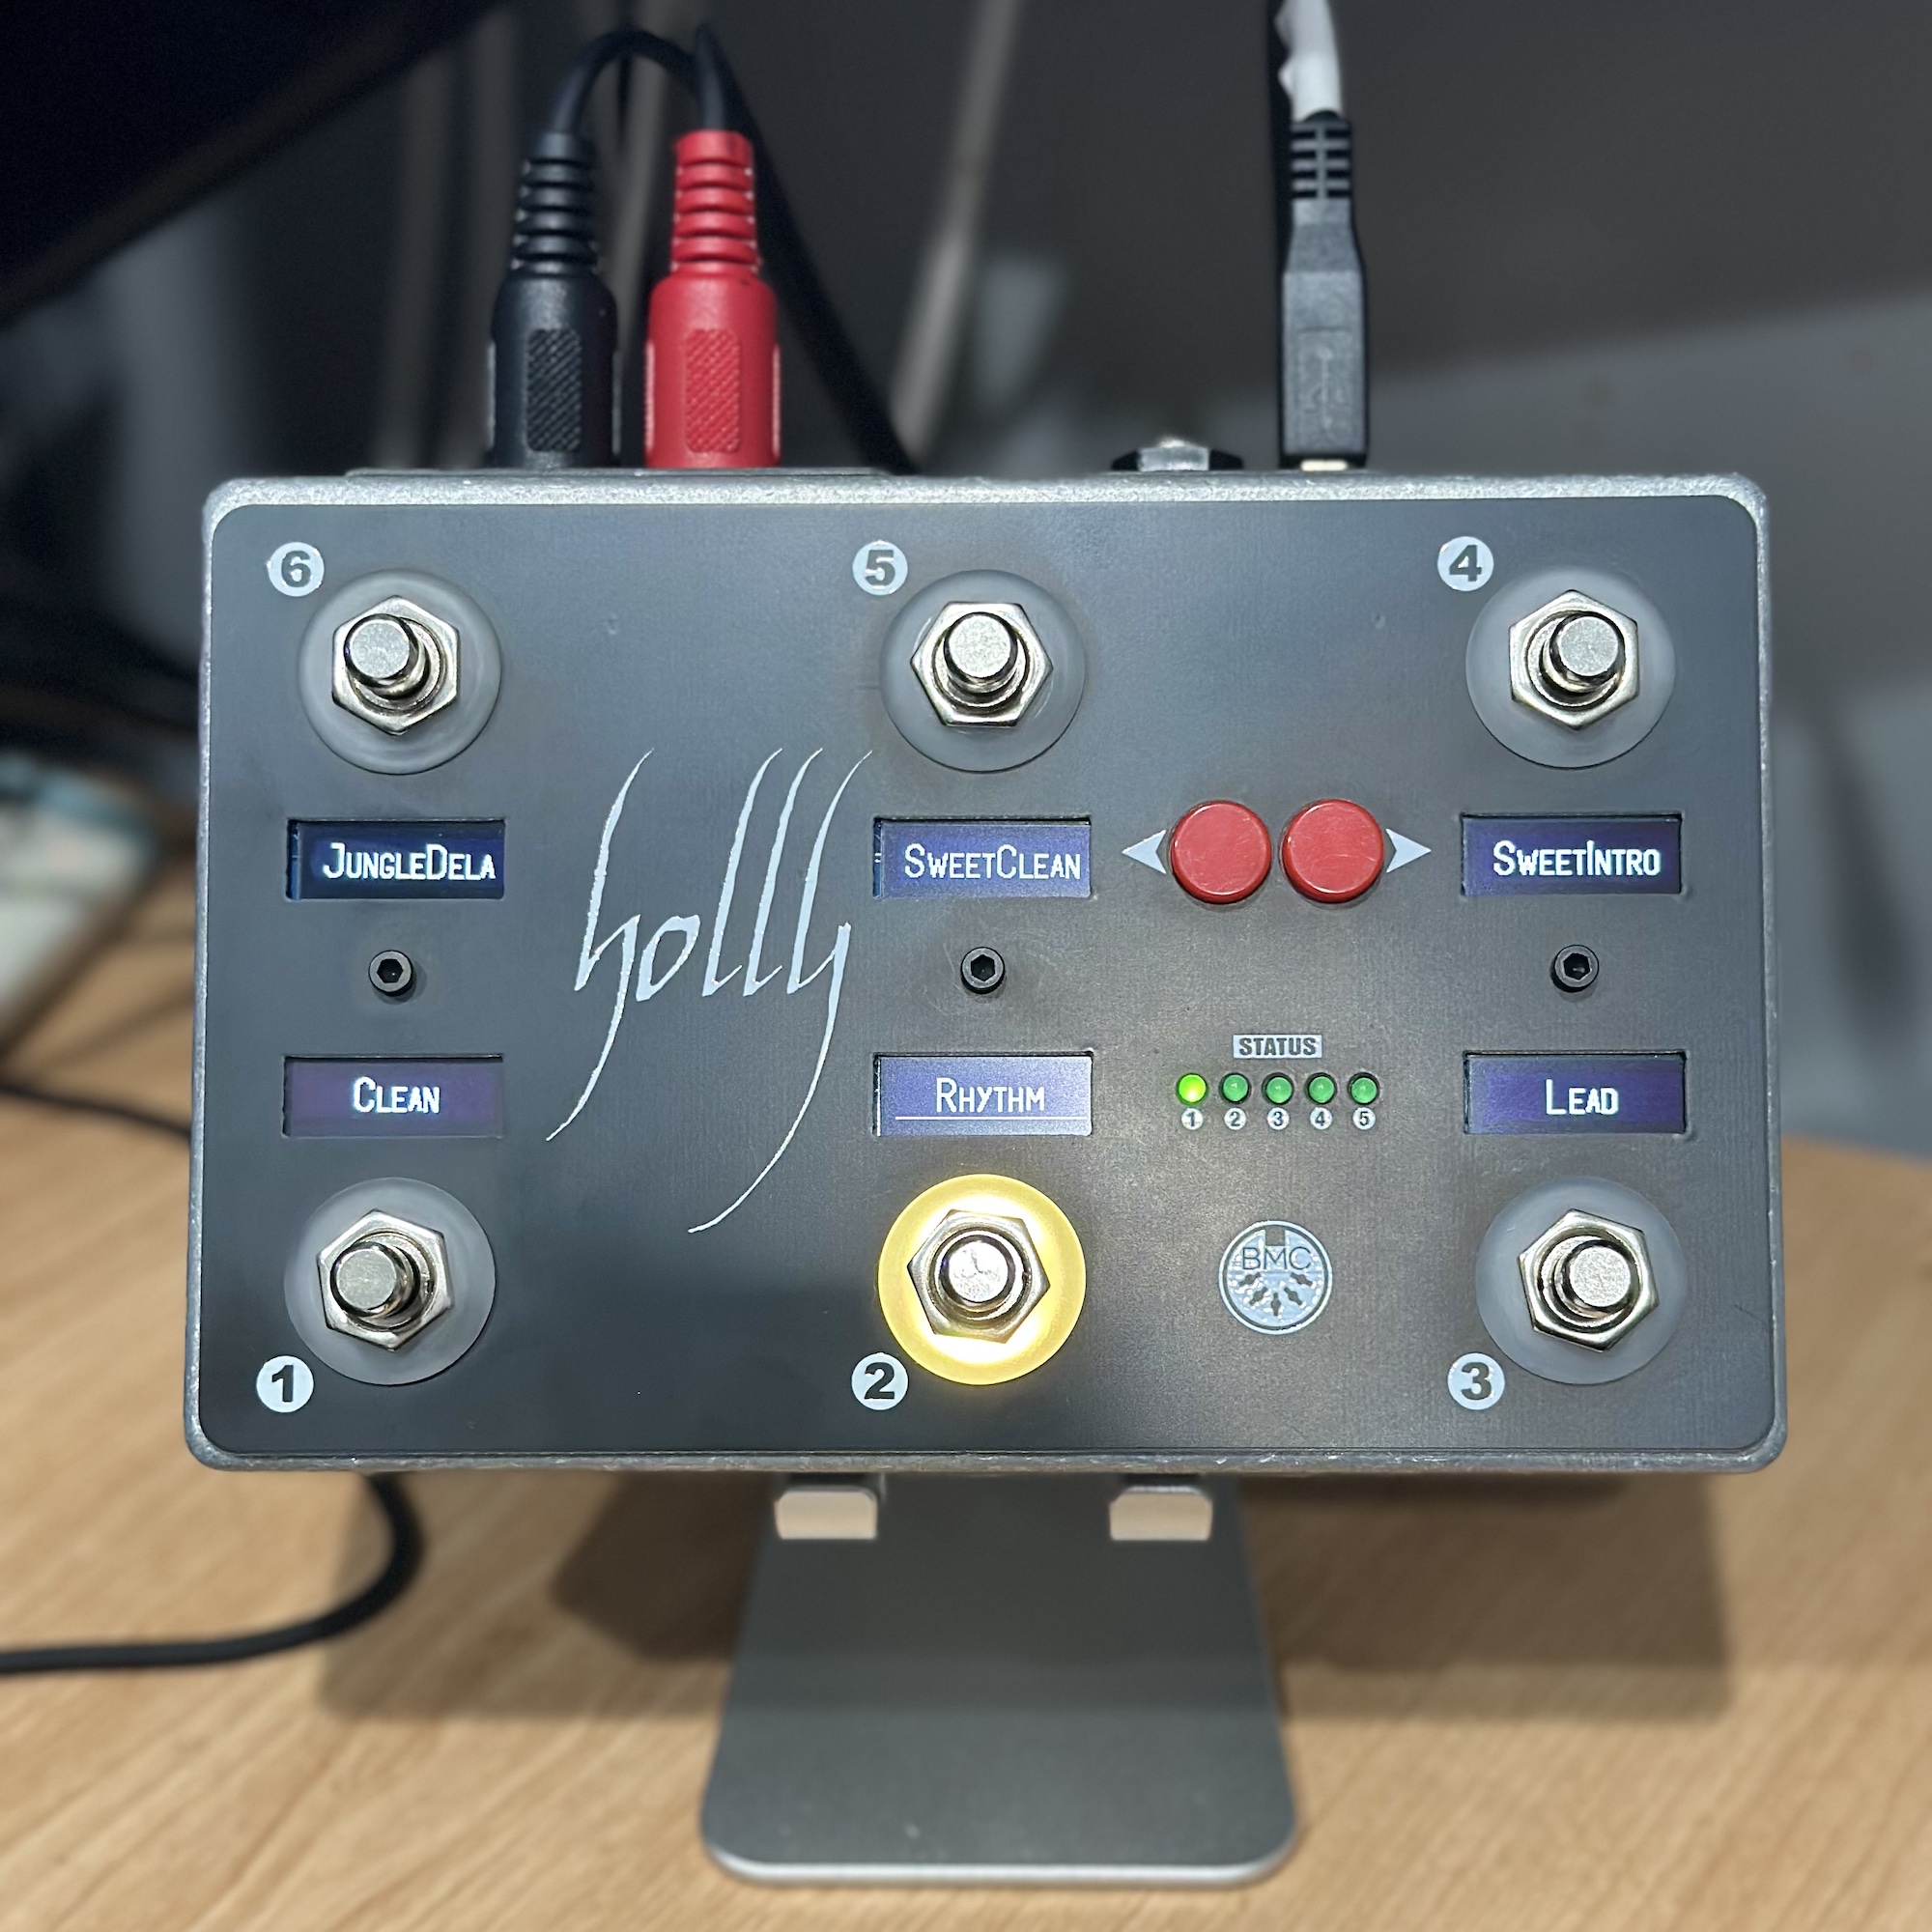
Holly has numbers on the cover plate, from 1 to 6, on this guide when I refer to Footswitch 1 I'm refering to the footswitch with the "1" label, same goes for the displays and WS2812. The five 3mm status leds as also labeled 1 to 5 and the same logic applies.
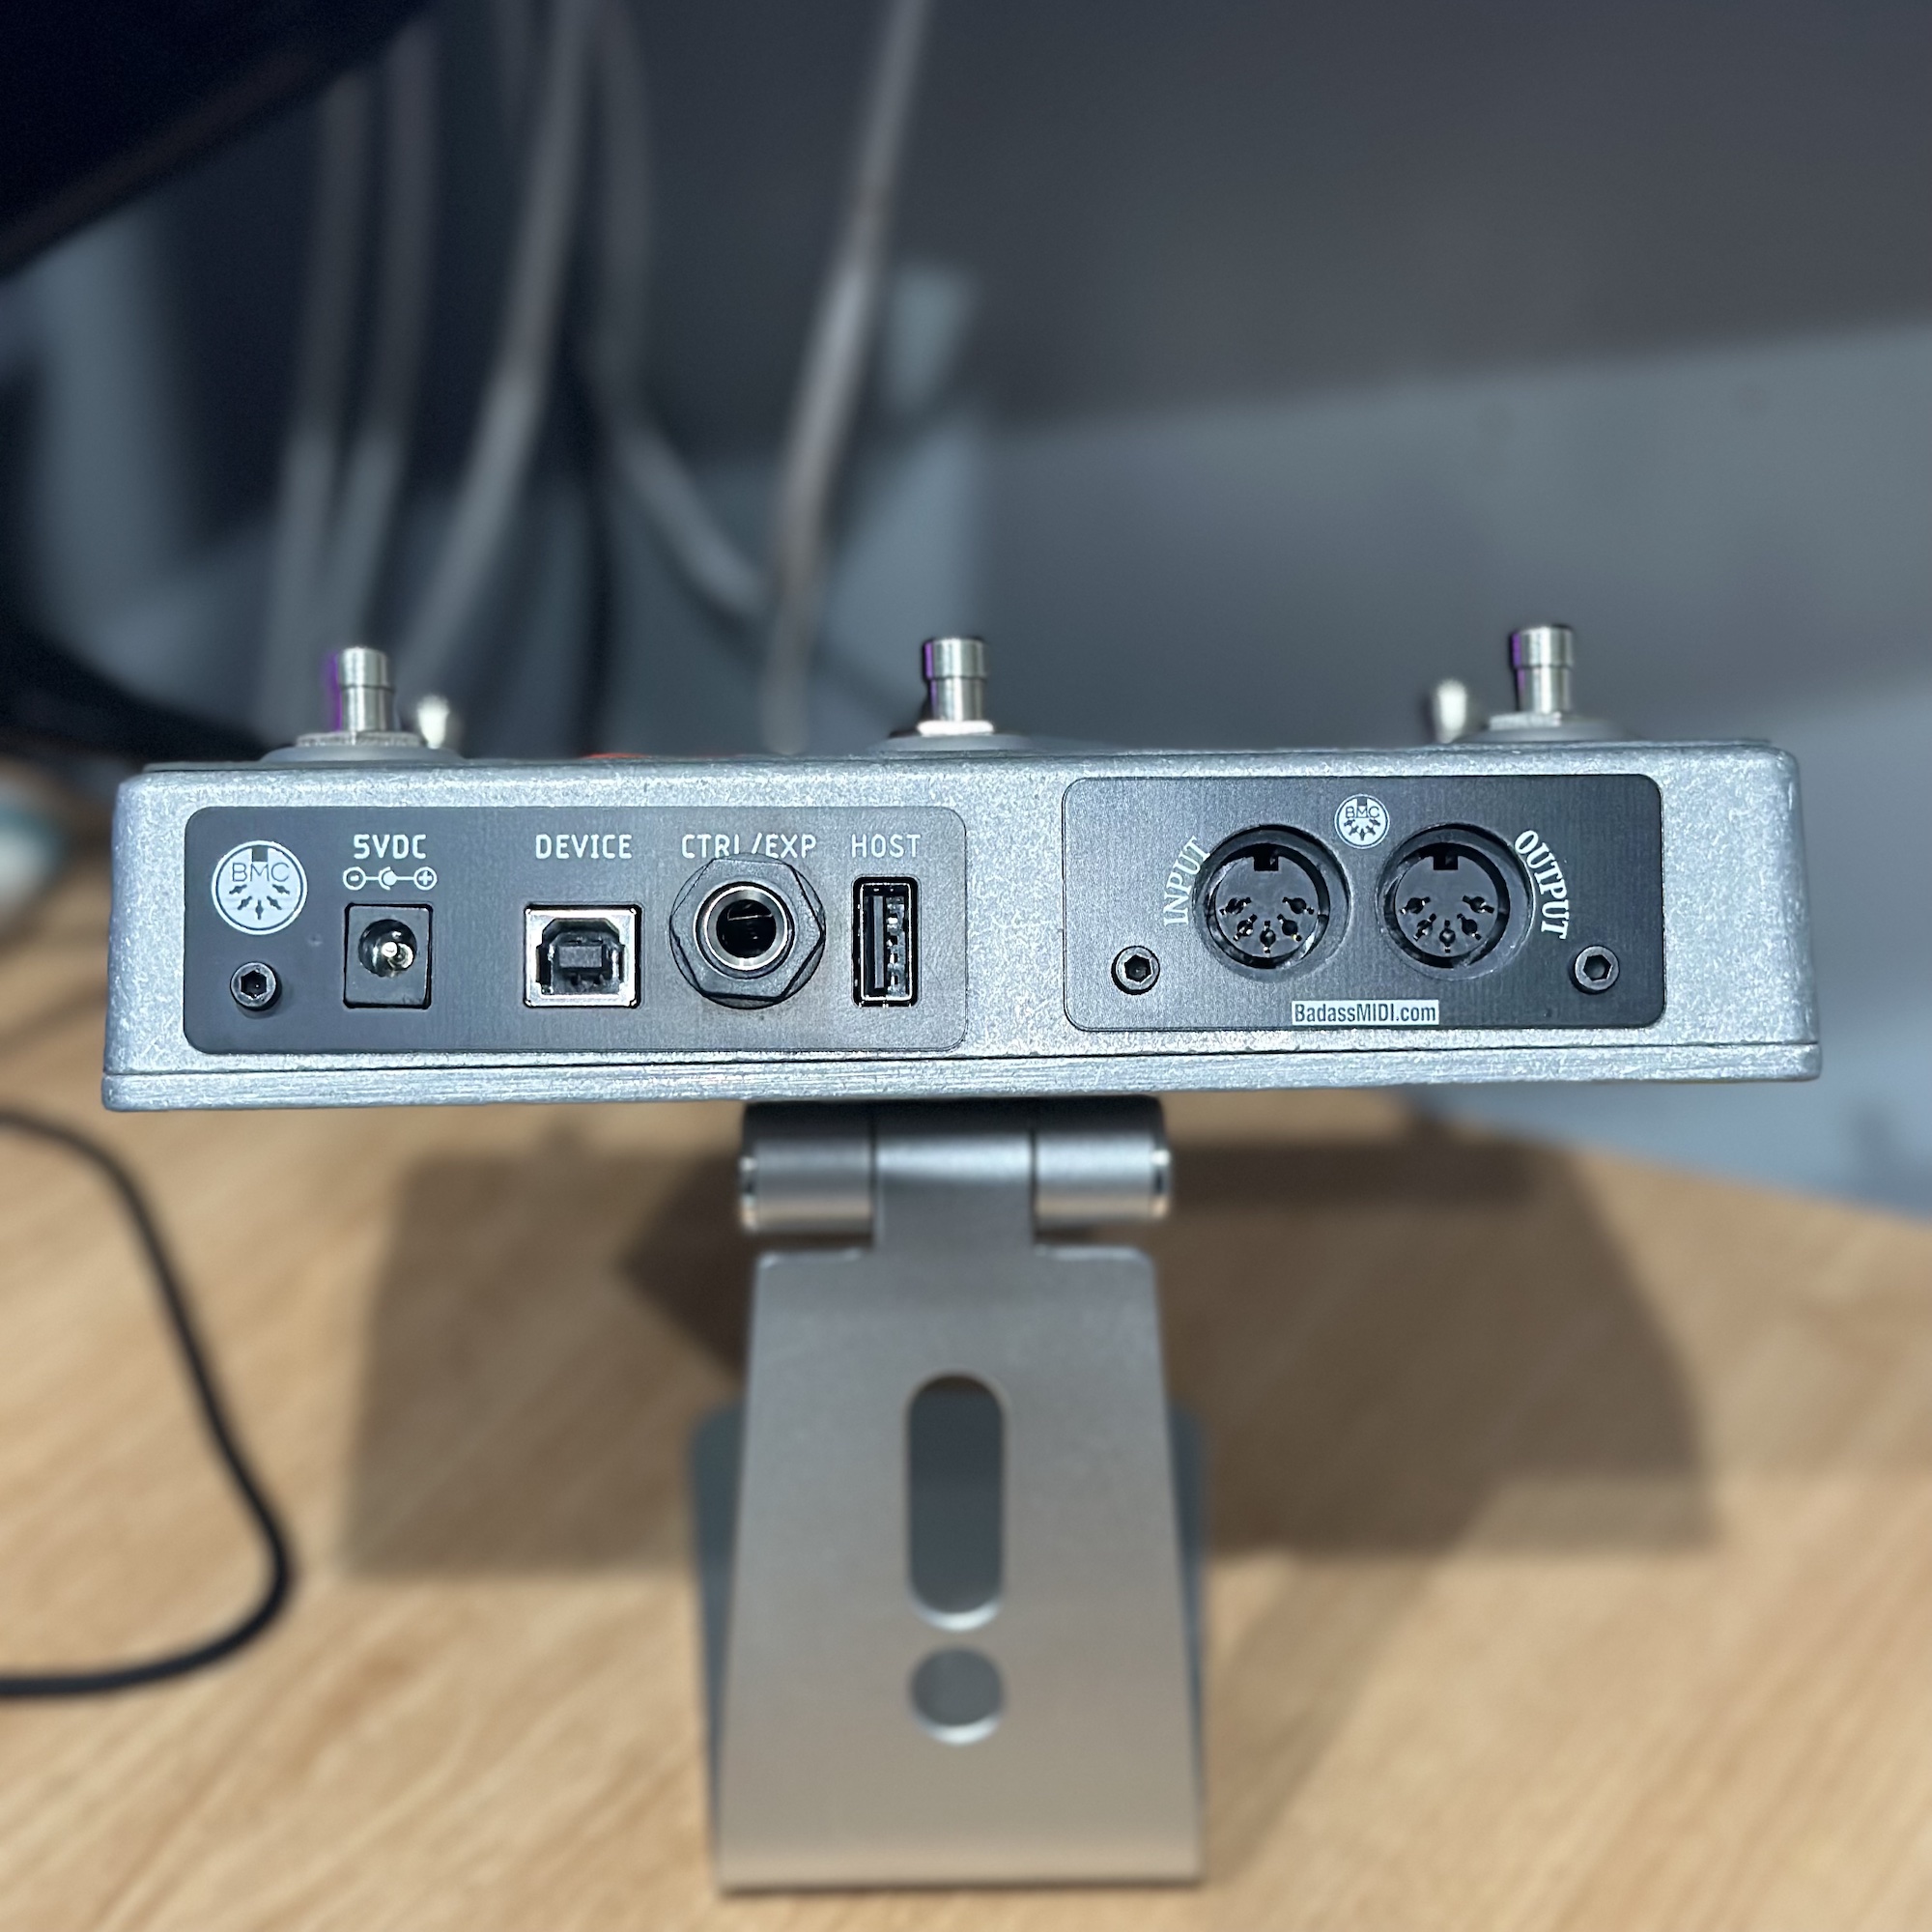
Holly uses i2c pins 18 (SDA) and 19 (SCL), the EEPROM Chip, Displays and their Multiplexer all run on the same bus.
The BLE MIDI runs on an off the shelf ESP32 with custom firmware that takes all MIDI input on BLE and writes it out to it's Serial Bus, which the teensy can then read on Serial3, all midi data sent to Serial3 TX is then sent straight out to BLE. You can use the Arduino MIDI Library with Serial3 as the HardwareSerial bus and read and write to Serial3 as you would if you had standard MIDI I/O
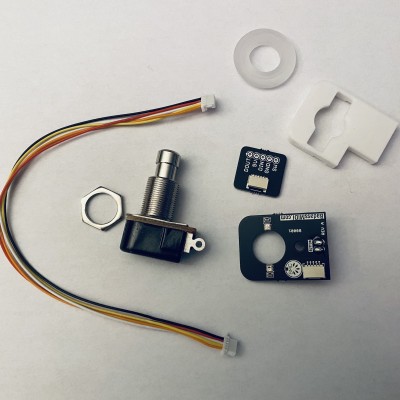
Aux Jack is wired for BMC directly to Teensy Pins, The Aux Jack in BMC lets you turn the Jack into either an expression pedal or dual footswitches This is done using a TRS Switching Jack, the TIP is wired to an analog pin, the RING is wired to a digital pin on the teensy, the way it works is, if you want to use it for an expression pedal then the TIP pin is used as an analog input to read the pot of the expression pedal, the RING pin is then turned into a digital output and set to HIGH, this will provide 3.3v to the expression pedal, expression pedals are usually wired this way. The SLEEVE is wired to ground, however, the switching pin of the sleeve is wired to a digital pin on the teensy, this is set as INPUT_PULLUP, this pin is used by BMC to determine if something is plugged in, When nothing is plugged in that ENABLE pin is shorted to ground keeping the pin LOW, when you plug an exp pedal into the Aux Jack the pin then will be HIGH which then tells BMC that an expression pedal is connected so that BMC can read the pot, otherwise the analog pin will be left floating which will send tons of random readings. To use it for dual footswitches both the TIP and RING pins are set to INPUT_PULLUP, same logic applies to the ENABLE pin, however, when it comes to buttons since they have internal pullsup on on the pins the pins will not be floating but always HIGH so the enable pin isn't really used then.
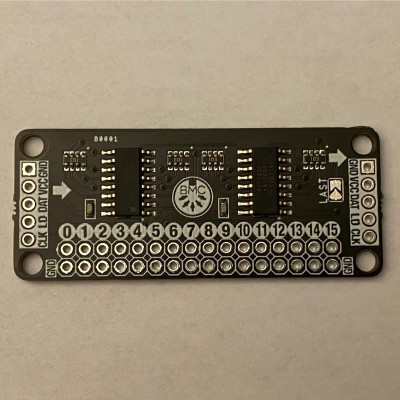
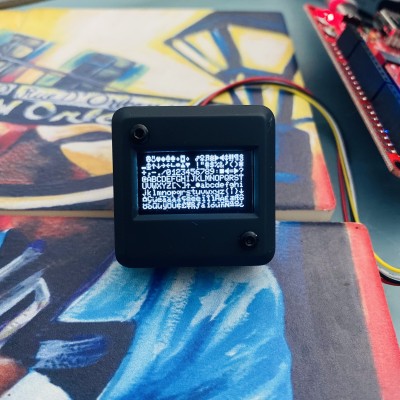
All displays use i2c address 0x3C, each display is wired to a different port of the TCA9548A Mux. These use can be controlled with the SSD1306 library from Adafruit. They are not wired in a 1:1 way to the mux, oleds are wired as follows:
Sync:

Follow BadassMIDI for Updates:


these are links affiliate links, you'll be supporting BMC development when you purchase from these links